
· Tutorial · Simple DIY Wood Photography Backdrop
This year, I set out to redo the overall look of my jewelry pictures. I had the same style of product photography for a couple of years, and altho they still received positive comments and usually grabbed the eye of potential customers, I myself was a bit over them. Taking pics of new items was nor creative nor fun anymore. So, I head out to revamp them!
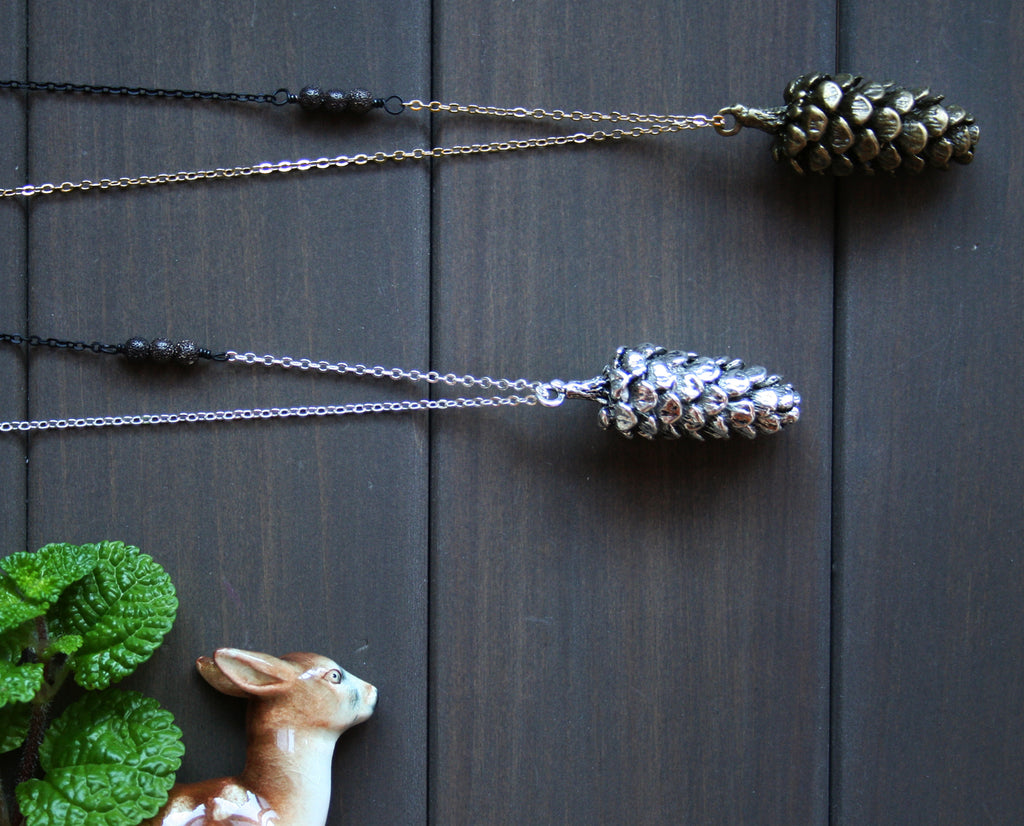
I've always been a fan of wood, perhaps because I grew up in a forest environment. Wood as nature, wood as furniture, wood as decor objects. If it's in wood, I'll want to look at it and also touch it. My products are also often nature inspired, so it was quite natural for me to want to make a wooden backdrop for my new photography.

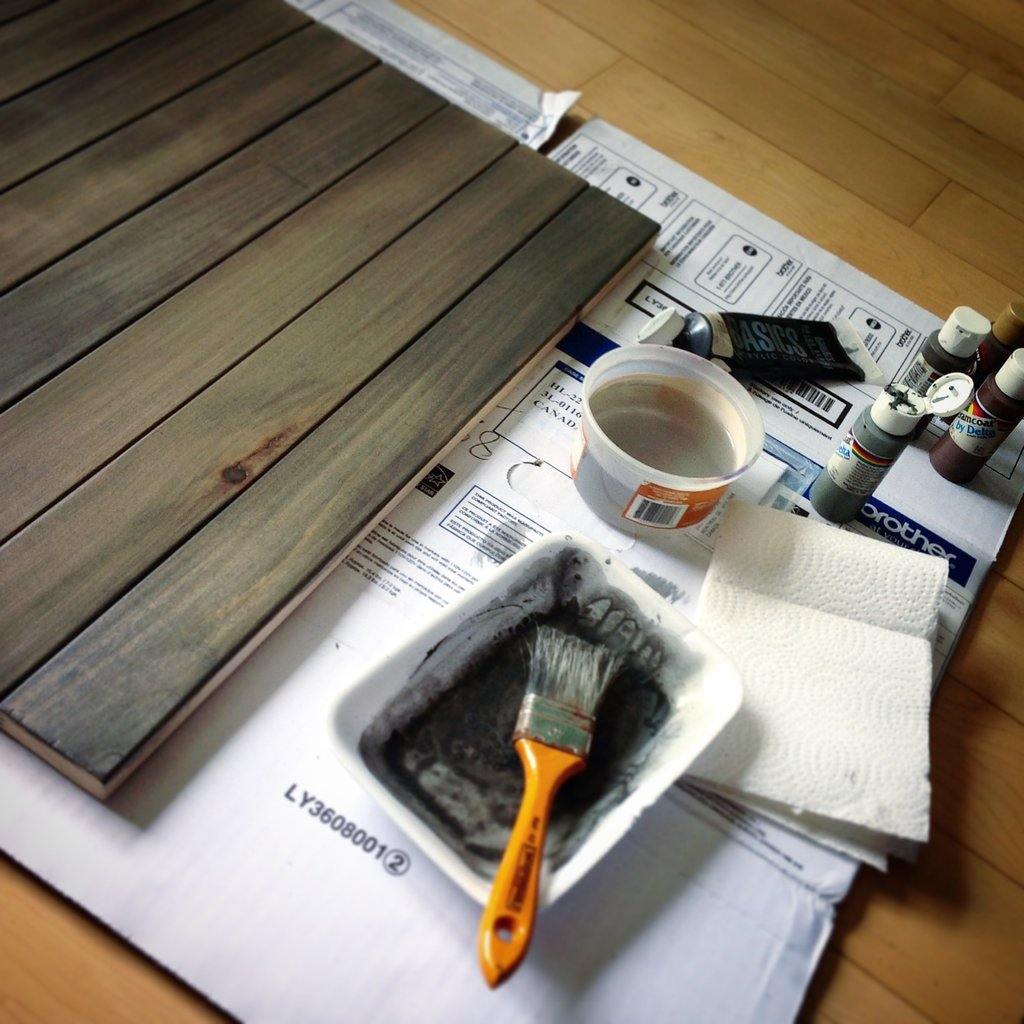
I set out to do this as easy as possible, and as cost effective as possible too, using what I had on hand already as much as possible. I didn't have actual wood, so I hopped on my bike and went to my local hardware store. There, I found these thin (2 inches wide) and long (8 feet) planks of wood that were perfect! I took two, and had them cut on the spot in planks of 2ft long (which was free with the purchase of the wood), adding up to 8 planks, which was totally easy to bring back on my bicycle. I added two sanding paper sheets to the lot and I was on my way home!


I then proceeded to sand all of them on my balcony, making the all the surfaces smooth (I wanted to be able to use both sides), as well as the corners a little bit rounded. Let me tell ya, this is not a fun thing to do by hand (ouch, my "muscles"... lol), but considering the money savings VS renting a sander, totally worth it. After, with a humidified paper cloth, I made sure no dust was left on the surface.

Now, to assemble... Usually, one would use nails of some sort, but that seemed terribly complicated for me to do correctly without risking breaking my wood. I already had a manual stapler gun, so this was perfect! It also gives me the easy possibility to take the staplers out and rearrange my planks as I see fit in the future.

I then proceeded to paint my wood with acrylic paint that I already owned, mixed in with lots of water to make sure the grain of the wood would still be visible. I wanted a matte surface, so no varnish of any kind was used. (One less step, YAY! lol)

As you can see, I also decided to staple 5 of the planks together, and the 3 other ones together at last. I often take super low angle shots for my jewelry, so I needed to be able to have a background also. Versatile, no? :)

So there you have it! Simple enough, don't you think? All you need is a couple of bucks, elbow grease, and a bit of time! :D

1 Response
Leave a comment
Comments will be approved before showing up.
Christine
June 22, 2015
Your new background really shows off your jewelry. Good job!!